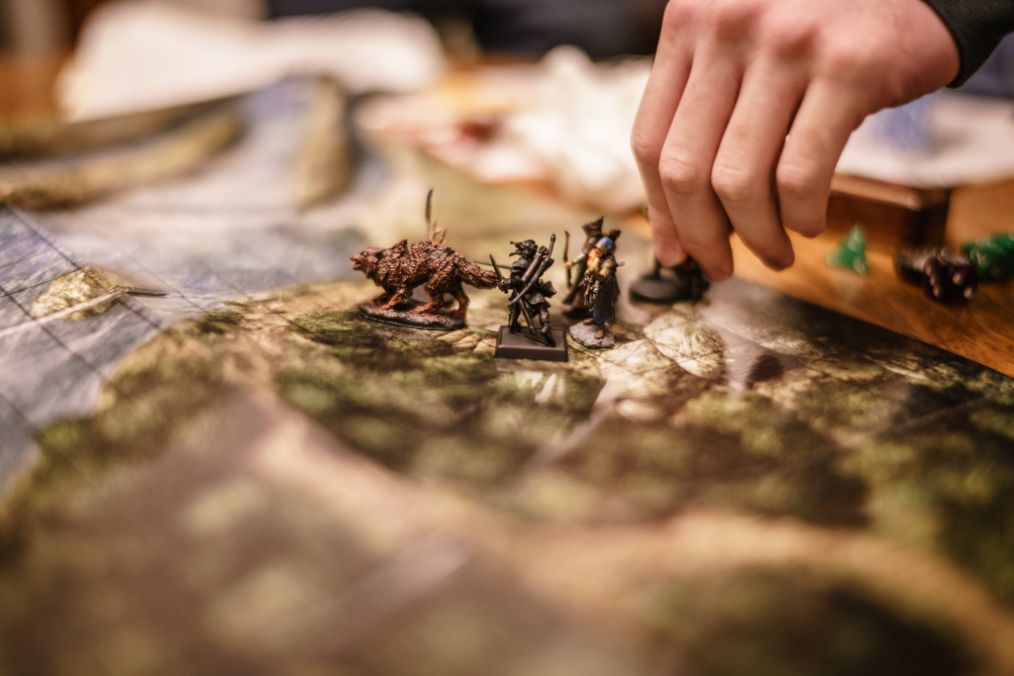
Role Playing Games (RPGs) that use miniatures add a level of immersion for players that simple tokens or 2D markers can’t match. Of course, the best miniatures for any game are painted and in full living color! When you purchase miniatures for RPGs, they are usually unpainted, sometimes unassembled, and require a bit of hobby grease to bring to completion. Sure, you can buy pre-painted models, but where’s the fun in that? Part of the enjoyment is customizing the appearance of your character.
In this article, I show you 3 simple tips to quickly get paint on your RPG miniatures and ready them for the tabletop.
For more in-depth details about how to speed paint miniatures, check out this tutorial [1] and this guide for essential tools and supplies [2] for miniature painting.

Zombicide board game miniature heroes painted using simple techniques
What’s Not Included in This Article? Pain and Suffering
Painting miniatures is a huge field of art. You can start simply, or dive off the deep end and drown in all sorts of nuanced techniques, tools, and philosophies.
For this article, I keep it simple. You want to get good-looking painted models in the shortest amount of time. To this end, I’ve cut out all the fat and distilled the juicy bits that should help you get started (and finished).
 You won’t read about specific products, fancy brushwork, or advanced blending techniques. Additionally, I’ve also removed any mention about having to paint “within the lines” or “neat”.
A key aspect of enjoying any hobby is the thrill of discovery and unshackling of your day-to-day routine. Let’s be expressive and painterly. In the words of an ice mage, “Let it go!”
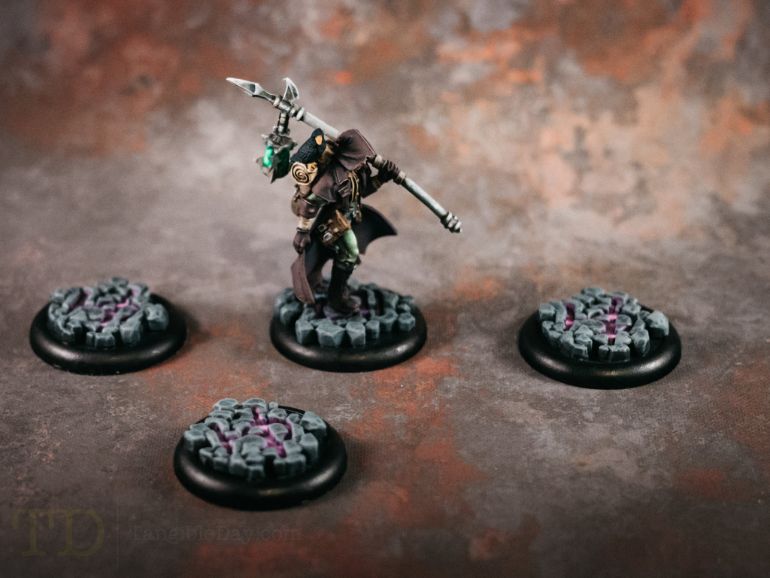
A sojourner crosses the wasteland… (“The Wanderer” miniature from Privateer Press)
Here are the 3 Tips for Painting Your RPG Models
- Use a good brush and quality hobby-grade acrylic paints
- Prime and paint with solid coats
- Enhance contrast with a dark-pigment wash
Continue reading to take a closer look at how these 3 tips come together to help you complete your painted miniature.

A mage lights the way….
1. Use a Good Brush and Quality Hobby-Grade Acrylic Paints
When you are in a gaming campaign, part of the goal of the party is to gather loot and upgrade your equipment. Better armor, weapons, and whatever-doodads you gain help you face down your next encounter.
The same is true for painting miniatures. Why hobble yourself with crappy, budget-level equipment, when you can get a jumpstart on the challenge. I’ll tell you the truth: Good quality instruments don’t make you a better painter, but they will speed up your process and make climbing that learning curve way easier.

Upon closer inspection, the chili wasn’t so hot after all
If you want to paint miniatures faster, make sure you invest in high quality brushes and hobby-grade acrylic paints. Here’s why:
With budget, poor-quality paint brushes, you’ll become frustrated as the bristles splay and drip paint everywhere. You can’t paint small, detailed surfaces with brushes that can’t hold a sharp tip/point. Also, cheap brushes are often made of synthetic materials that don’t have a large capacity for holding paint (e.g., known as the brush “belly”). You may find yourself with dried paint on your brush after a short moment of thought, or repeatedly having to reload your brush with paint (which slow down the entire painting process).
You can read more about the best paint brushes for painting miniatures here [3].
My suggestion is to start painting every model/miniature with a size #1 point round sable paint brush. If you’re not sure what kind of brush this is, you can start with the Army Painter Wargamer Regiment paint brush (my current favorite workhorse brush for miniature painting), or the Citadel Layer paint brush.

A crusader, crusades
In regard to what kind of paint will help you: buy the quality you need. Poor quality arts & craft paints will not give you the required color pigment density needed to paint miniatures well. Budget craft paints also dry brittle and don’t have the durability of hobby-grade acrylics designed for gameplay and handling. Finally, cheap paint is unpredictable and you’ll find yourself slowing down at every step to make sure the paint behaves as you want it too.
Instead, I recommend you stick only with high quality acrylics formulated for painting scale models and minis. Here’s a list of quality acrylics paint sets for beginners [4] in miniature painting.
2. Prime and Paint with Solid Coats
When it comes to speed painting any model, you’ll do a better job quicker if you follow the “ubiquitous layering principle”. Or, in other words, make sure each layer of art medium is applied smoothly and evenly, before moving on to the next layer.
In miniature painting, follow the concept of building a house. Make sure your foundation is built as strong, evenly flat as possible before adding on top of it. Otherwise, when you get to building the roof, you’ll find that the small imperfect bump in your foundation’s concrete slab disrupts the pattern of roof shingles, leading to a gap, a leak for the rain.
We bite the hand that feeds
When painting quickly, the lesson is to “go slow to be fast”. Make sure each layer is smooth, solid, and even (e.g., note that I didn’t say neat, which you’ll see why isn’t as important when you use dark-colored washes). The idea is to avoid streaks, bumps, and clumps of paint on your model as you paint it. This allows you to add more color on top without worrying about going backwards to fix things.
For best results, apply your primer (the undercoat polymer to prepare the model’s surface) and paint in solid, even coats. Your aim is to apply each layer of art medium to create a smooth surface to build up your pigments.
With either primer or paint, make sure you apply multiple thin layers rather than a few thicker coats. This will ensure you have even coats that don’t clump or leave streaks. To do this with primer, use a rattle spray can primer (e.g., aerosol) and spray from at least 6- 12” away from your model.

You shall not pass
If you must use a brush-on primer, I suggest using a water-soluble surface primer, like Vallejo Surface Primer (see how to use it here [5]) and thin it down with a bit of water. Use a large brush and apply the thinned primer on your model as you would paint. Remember to allow each layer to dry before applying the next.
(Quick tip: You’ll finish a miniature painting faster if you use a black or other dark-colored primer. A dark primer will shade all the recesses for you ahead of your paint application. Try it.)
For applying paint color, use the same principle as primer. Apply multiple thin coats instead of thicker single coats. If you’re unsure how thin to use your paints, then aim for a basecoat viscosity that provides sufficient color coverage in 2-3 coats of paint. Of course, some colors may require less or more water to dilute the paint to the proper thickness. You’ll have to do some experimenting with your painting, which is totally normal and fun!
3. Enhance Contrast with a Dark-Pigment Wash
For a really compelling miniature paint job, you want your final result to have a high contrast. Contrast is a measure of the brightness value between your darkest dark, to your brightest bright. A super high contrast model, for example, will have deep shadows and near-white highlights.
To achieve good contrast on your model without spending a lot of time fussing about color theory and fancy paint blending, use a wash. A wash is a semi-transparent art medium that contains a dark pigment in a low viscosity binding medium. When a wash is applied to a textured surface like a miniature, the pigment settles in the recesses. As the wash dries, this shades/darkens those recesses, while leaving the raised surfaces with a transparent film. When done properly, a wash application enhances the contrast on a model by darkening shadows, while leaving other surfaces brighter and colorful.
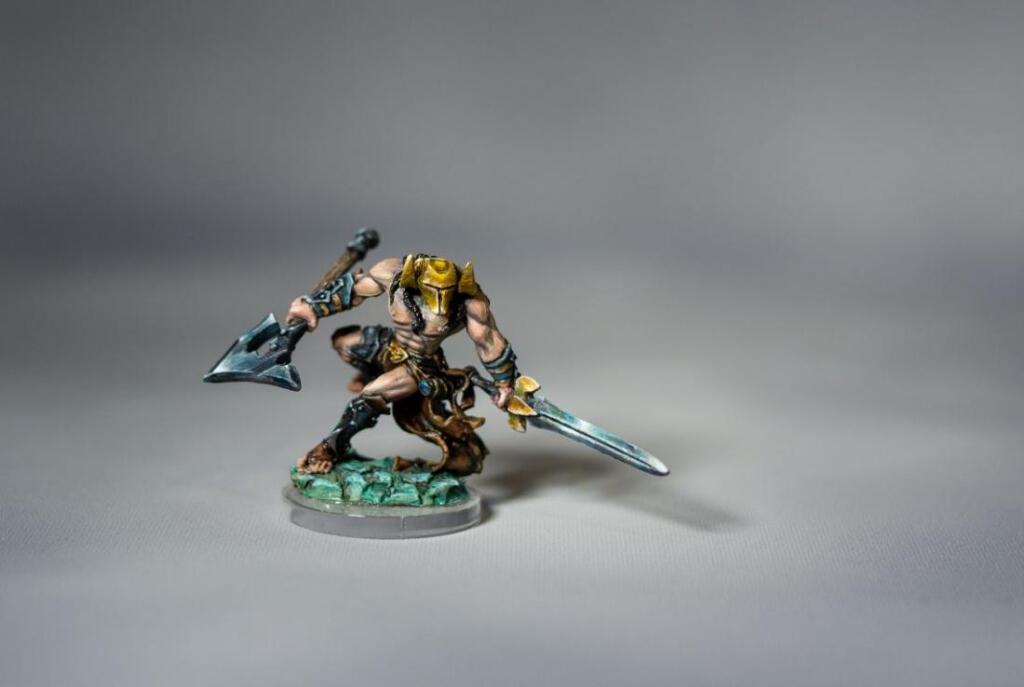
I sold this painted barbarian miniature on eBay
You don’t need to collect a lot of paint washes, by the way; just choose a few dark-pigmented shades and you can paint anything. Check out my favorite washes and shades [6] and how to use them for miniature painting.
When applying a pre-made wash, like Citadel Shades, you should use a bigger brush and make sure the pooling pigments remain in the recesses. Use a soft bristled brush to push the wash around to avoid clumping on the raised areas. A word of warning: don’t try and manipulate a wash after it has started drying (you’ll know this happens when a drying film develops over the wash, which appears duller than the wet/damp medium).
A side note: You can make your own washes for enhancing contrast using inks and other acrylic additives (e.g., flow improvers, matte mediums). However, for the sake of speed and simplicity, I would suggest anyone who wants to be productive simply use the premade hobby washes or shades available at any hobby game store. They work great, require no thinning, and produce excellent results with practice.
Bonus Tip: Seal your Models with Varnish for Gameplay Handling
When you’re finished painting your models, you’ll want to protect your hard work. To do this, apply a varnish. A varnish is a clear sealer that shields your paint job from the harsh world of gaming.
There are many types and kinds of varnishes. But, I suggest you only use a spray-on varnish to ensure you coat with thin, even layers on the model. To maintain the color richness of your paint job and to enhance photography, I also recommend you stick to using a matte varnish [7], which removes the gloss and shine in the miniature. Hard reflections decrease contrast and color vibrancy on any paint job.

It is finished!
Final Word
I hope you found this article useful for ways to paint your RPG miniatures. Sure, there’s a lot more to learn. But, when it comes to the nuts and bolts of painting miniatures, the core principles are always the same. Apply your mediums in even, solid coats, so that overlying applications build up in a predictable fashion. Use washes to enhance texture contrast. Underscored, contrast is the key to a great looking final paint job.
Thanks for reading! Do you play with miniatures and want more tips for how to paint them well? Leave a comment below. We’d love to hear from you!
4 Comments To "3 Simple Tips to Quickly Paint RPG Miniatures"
#1 Comment By Rickard Elimää On July 9, 2021 @ 3:25 am
I bought Legends of Drizzt a couple of months ago, and wanted to paint the miniatures. I had basically no prior miniature skills. Sure, I painted a Blood Bowl team twenty years ago, and some RoboRally figurines, but that’s it. I would like to recommend Dana Howl’s glacing video. It’s amazing.
[8]
Apart from preparation (priming with black, and zenithal priming with white from above, using null oil as wash and then highlight with a makeup brush, which took me about 5 hours for 30 minis, it takes me about 1h per miniature to glace. It makes so much sense to me to paint in that matter. You apply all shadows, contours and highlights, and then just paint with thin paint so these contrasts shines through. You get instant shading, and you can manipulate the colors as much as you want (removing, moving, blending, saturate) while the paint is wet, which is about two minutes. It revolutionized miniatures painting for me.
#2 Comment By Andrew On July 14, 2021 @ 11:17 am
Ah, thank you for this comment and the video recommendation. The method with zenithal highlighting followed by thin paint glazes is a great way to paint miniatures fast. I like using glazes for adding interest to my base coats, too, without much extra effort.
Airbrushing is another approach you can use with glazes, by the way. But, it requires a bit more technical know-how and isn’t necessarily faster if you consider the required upkeep and cleaning of the airbrush.
Thanks again for the info and comment. I appreciate it! I’ll be updating this post and writing more tutorials about painting for this site and my home blog [9]
Come back soon!
#3 Comment By Tex Hooper On May 23, 2022 @ 6:20 pm
I like what you said about using a lighter brush for details. I need to have some cups painted. I’ll have to pick up the paint to the store.
#4 Comment By tangibleday On May 23, 2022 @ 8:21 pm
Great, thank you for the comment. I see you’re painting pottery?